
Easy DIY candle holders for home decor are one of those projects that look “designer” on a shelf, but usually take less time than a trip to a big-box store, if you pick the right materials and keep safety in mind.
The common pain point is not creativity, it’s confidence: people worry the holder will look cheap, feel unstable, or turn into a fire hazard. Fair concerns, and they’re also avoidable with a few smart choices.
In this guide, you’ll get a realistic set of options, from no-tools “assemble and style” ideas to weekend projects. I’ll also include a quick fit-and-safety checklist, plus a comparison table so you can choose based on your space and patience level.
What makes a candle holder “work” in real homes
Pretty matters, but a candle holder earns its spot by being stable, heat-aware, and easy to live with. If you only remember one thing, remember this: decor fails when it fights gravity or ignores heat.
- Stability: wide base, low center of gravity, no wobble on a table runner.
- Heat tolerance: glass, ceramic, concrete, and many metals do well; thin plastics and delicate finishes often do not.
- Wax control: a “cup” or plate helps catch drips, especially with tapers.
- Scale: small holder, small surface; oversized pillars on a narrow ledge look risky because they are.
According to NFPA (National Fire Protection Association), candles should be kept away from things that can burn and used on a sturdy, uncluttered surface. That advice sounds basic, but it’s exactly what DIY setups sometimes skip.
Materials you can trust (and ones to treat carefully)
When people search easy DIY candle holders for home decor, they usually want something inexpensive and easy to source. You can do that without gambling on materials that soften, scorch, or crack.
Good “default” materials
- Glass: thrifted votives, jars, hurricane vases, stemless wine glasses.
- Ceramic/stone: small bowls, ramekins, tiles as a base.
- Concrete: quick-set mixes for a modern look, especially for tealights.
- Metal: trays, small bowls, hardware pieces (washers, pipe fittings) with the right adhesive.
Materials to be cautious with
- Wood: usable as a base, but not where flame or hot wax can reach. Add a glass insert or metal cup.
- Hot glue: fine for decor-only joins away from heat, but it can soften. Consider epoxy for structural bonds.
- Paint/sealants: many craft paints are not heat-rated; keep them away from direct heat zones.
If you’re unsure about a finish or adhesive, treat the candle as the “hot zone” and keep DIY work outside that zone. It’s not overthinking, it’s just how you avoid scorch marks later.
Quick self-check: pick the right candle holder style for your space
Before you build, decide what you’re actually lighting. Tapers, tealights, and pillars behave differently, and your holder should match the job.
- If you have kids/pets: choose low, heavy holders, or use enclosed glass hurricanes.
- If you burn candles often: prioritize drip control and easy cleaning over intricate details.
- If your decor is rental-friendly: skip wall-mounted ideas and avoid adhesives that can stain surfaces.
- If you want “high end” fast: mix thrifted glass with a metal tray, then style in groups of three.
Key point: if you’re not sure what candle you’ll use, design around a removable insert, like a standard glass votive cup. Flexibility saves redo time.
6 easy DIY candle holders for home decor (steps + styling notes)
These are intentionally practical. No elaborate woodworking, no specialty tools required for most, and each option includes a “how to make it look intentional” note, because that’s where DIY often wins or loses.
1) Sand-filled glass hurricane (fast, coastal, very forgiving)
- You’ll need: tall glass cylinder or large jar, play sand or fine gravel, optional shells/pebbles, votive cup.
- Steps: pour 1–2 inches of sand, nest the votive cup so it sits level, adjust, then add a few stones for contrast.
- Style tip: keep the filler one tone (all sand, or all black gravel) for a cleaner, more “retail” look.
2) Thrifted glass + tray “set” (instant centerpiece)
- You’ll need: 2–3 thrifted glass vessels in varied heights, metal or mirrored tray, optional greenery.
- Steps: group odd numbers, keep heights staggered, and anchor the set on a tray so it reads as one piece.
- Style tip: repeat one material (all clear glass) and one accent (brass tray) to avoid visual clutter.
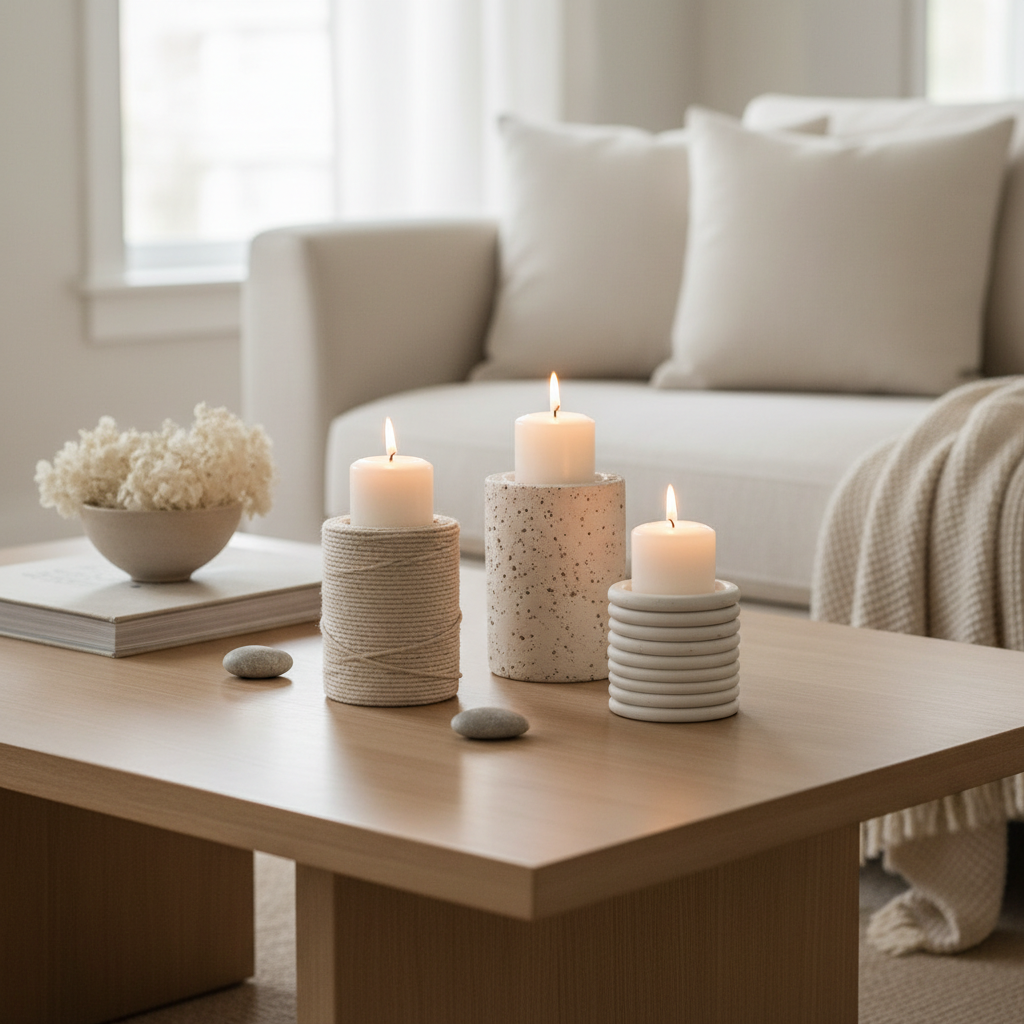
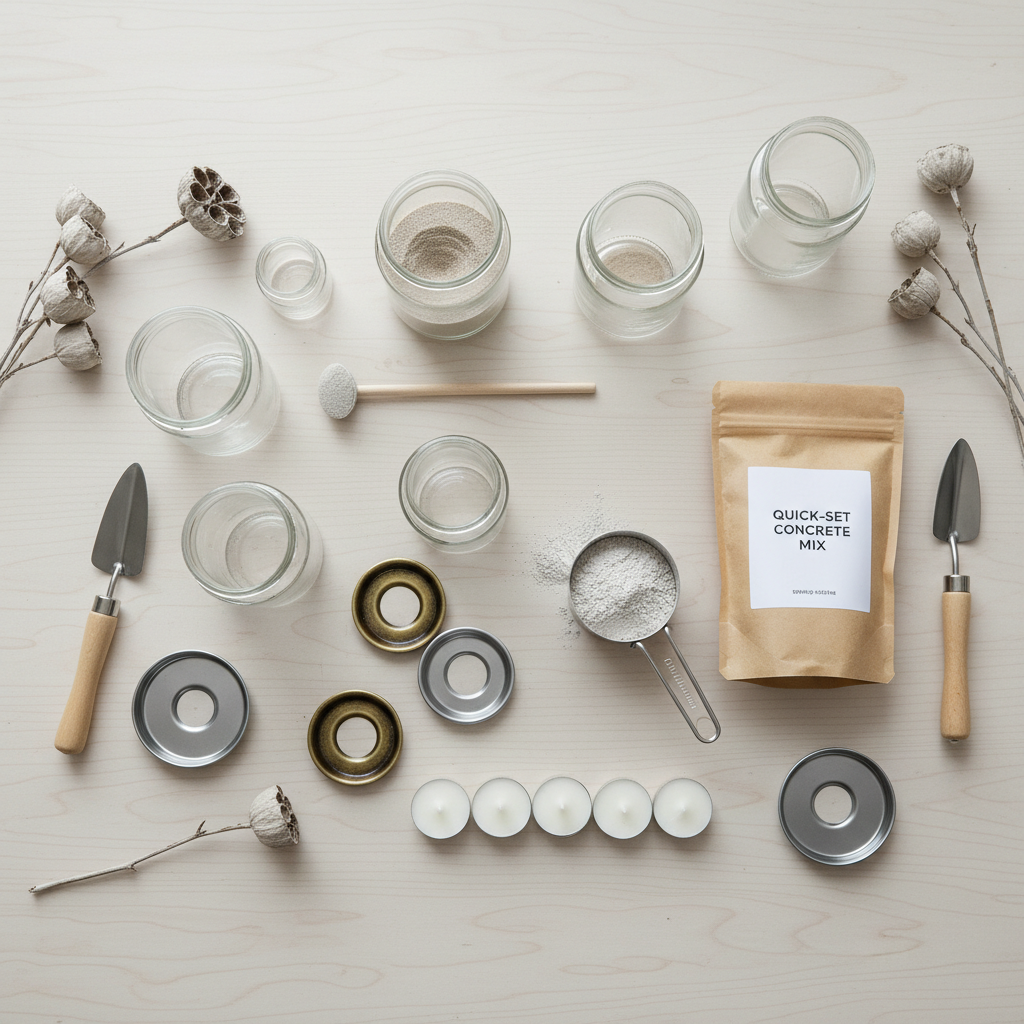
3) Concrete tealight blocks (modern, heavy, pet-friendly)
- You’ll need: quick-set concrete, silicone ice cube tray or small molds, cooking spray, tealight cups.
- Steps: spray mold, mix concrete, pour, tap to release bubbles, press tealight cup lightly to form a seat, let cure.
- Style tip: sand edges lightly after curing, then pair with linen or wood textures nearby for warmth.
4) Upside-down wine glass pedestal (elevated look with no tools)
- You’ll need: stemmed wine glass, small plate or coaster, pillar candle on top (or a flat candle plate).
- Steps: flip glass upside down, place plate on the base (now top), set candle on plate.
- Style tip: use two matching glasses and one slightly taller in the middle for a clean trio.
Safety note: use a wide, stable plate on top so the candle base stays fully supported, and keep the setup away from edges.
5) Wood slice base with glass insert (rustic without the fire risk)
- You’ll need: wood slice, small glass votive holder, E6000/epoxy (away from heat path), felt pads.
- Steps: center the glass insert, mark placement, bond carefully, add felt pads under the wood slice.
- Style tip: choose wood with a smoother cut and minimal bark shedding, it looks more finished.
6) Minimalist taper holder using hardware fittings (sleek, slightly industrial)
- You’ll need: metal washers, a coupling nut or pipe fitting that fits your taper base, strong epoxy, small metal dish for drips.
- Steps: stack washers for weight, epoxy to the fitting, cure fully, place on a dish to catch wax.
- Style tip: keep it monochrome (all black or all brass) and let the candle color be the accent.
Choose your project fast: a simple comparison table
If you’re stuck deciding, use this to match effort to payoff. The “Best for” column is the honest part.
| DIY holder idea | Tools needed | Time | Look | Best for |
|---|---|---|---|---|
| Sand-filled hurricane | None | 10–20 min | Coastal / calm | Quick styling, low mess |
| Thrifted glass + tray | None | 20–40 min | Curated / boutique | Coffee table, console table |
| Concrete tealight blocks | Mixing bowl | 45–90 min + cure | Modern / sculptural | Homes with pets, windy areas |
| Upside-down wine glass | None | 5–10 min | Elevated / simple | Dining table height variation |
| Wood slice + glass insert | Adhesive | 20–30 min + cure | Rustic / warm | Fall decor, mantel styling |
| Hardware taper holder | Epoxy | 30–60 min + cure | Industrial / minimal | Modern shelves, giftable sets |
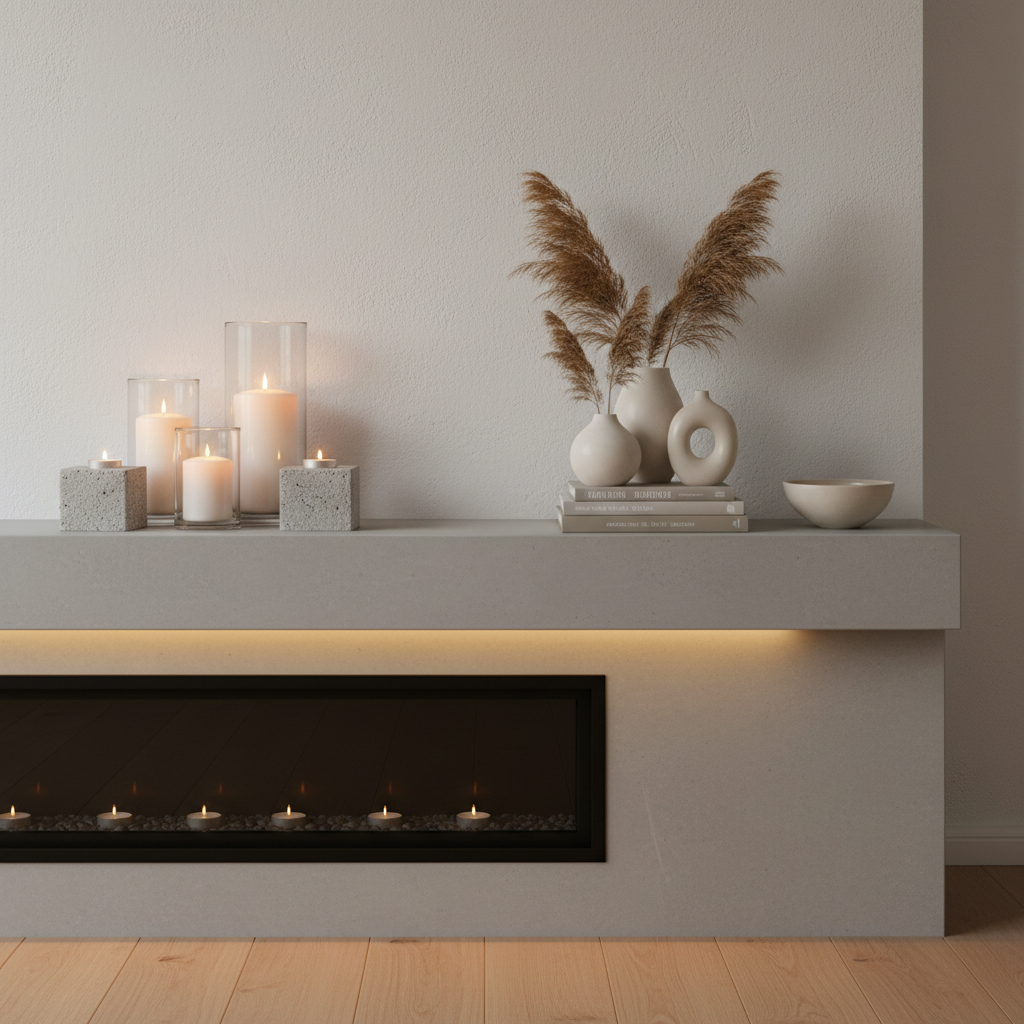
Practical styling: how to make DIY look intentional (not “crafty”)
This is where easy DIY candle holders for home decor really shine: you’re not only making an object, you’re building a little moment in a room.
- Group by height: one short, one medium, one tall reads polished.
- Repeat one finish: match metals, or match glass clarity, so it feels cohesive.
- Use a base: trays, books, and stone slabs visually “frame” the arrangement.
- Balance with something matte: candles + glossy glass often need linen, wood, or ceramic nearby.
Small but powerful move: swap bright white candles for soft ivory, taupe, or charcoal. The holder suddenly looks more expensive, even if it cost almost nothing.
Safety and durability: common mistakes to avoid
DIY candle projects are usually safe when you respect heat and airflow, but the mistakes are predictable, and worth calling out before you glue anything.
- Undersized base: if it tips with a gentle tap, it’s not “done.” Add weight or widen the footprint.
- Decor too close to flame: dried florals, ribbon, or faux greenery near the wick can become a problem quickly.
- Adhesive in the hot zone: keep glue joints away from direct heat, and let epoxy cure fully per label.
- Ignoring soot/ventilation: smoky candles often mean the wick needs trimming, or the candle sits in a draft.
According to CPSC (U.S. Consumer Product Safety Commission), candles should be used with care and kept away from flammable materials. If you’re setting up decor for an event, that extra caution matters even more because distractions happen.
If you ever notice cracking glass, scorching, or strong odors from materials, stop using the holder and reassess the materials. When in doubt, consider flameless LED candles, especially around kids, pets, or fabric-heavy rooms.
Wrap-up: a simple plan to start today
Easy DIY candle holders for home decor work best when you pick a stable base, choose heat-friendly materials, and style in a way that looks curated rather than crowded. You don’t need a huge craft stash, you need one good idea and a little restraint.
If you want momentum, pick the sand-filled hurricane or the thrifted glass + tray setup, finish one arrangement, then repeat the same “recipe” in another room using the same finish. Your home starts to look cohesive fast, and you didn’t spend like it’s a showroom.
Action step: choose one candle type you actually burn, then build one holder around it this week, not six different prototypes.