
Best wall mounted pot racks for small kitchens are usually the fastest way to win back cabinet space without doing a full remodel, especially when pots and pans keep “spilling” into everything else.
If your kitchen feels tight, it’s rarely because you own too much, it’s because the storage is fighting the way you cook. A wall rack puts your most-used cookware where your hands naturally reach, and that changes daily flow more than people expect.
This guide breaks down the wall-mounted styles that work in genuinely small U.S. kitchens, what to measure before you buy, how to avoid common mounting mistakes, and how to choose materials that won’t rust, wobble, or drive you nuts.
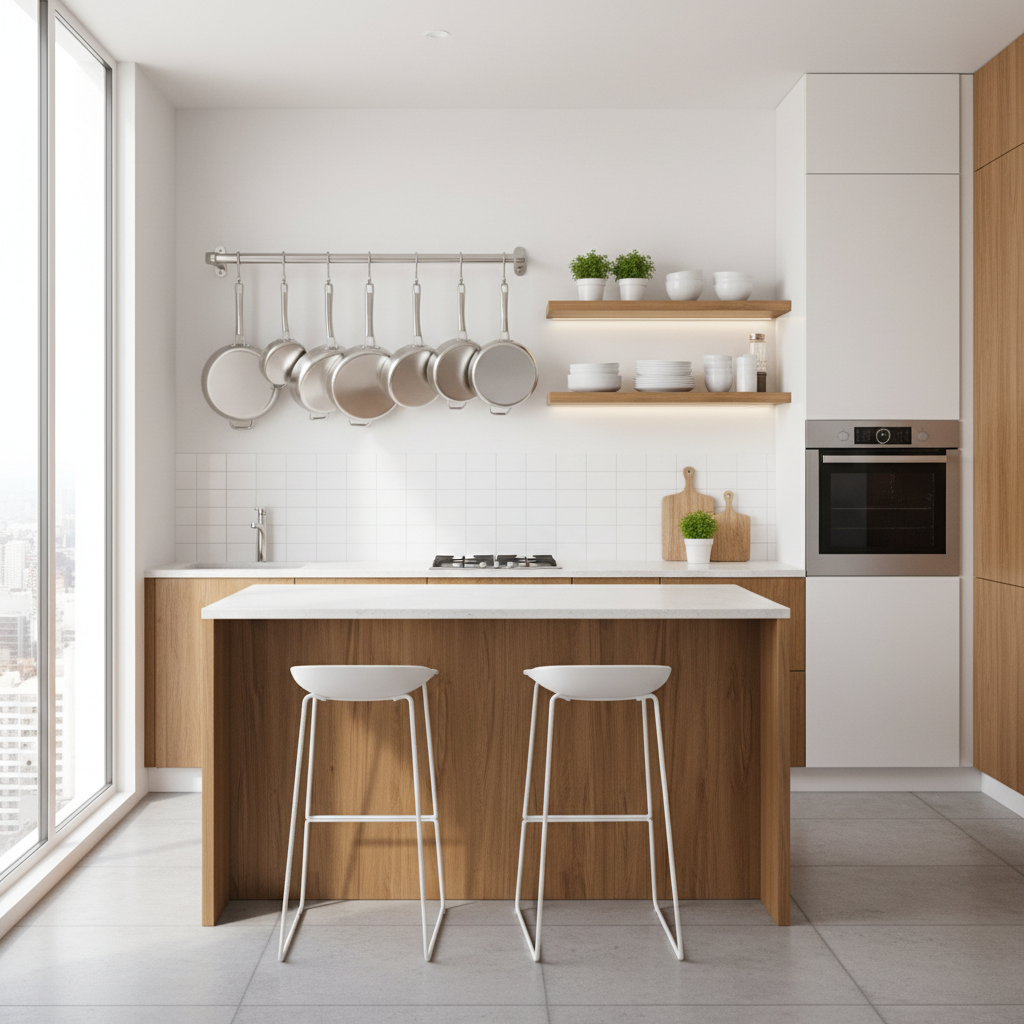
What actually makes a wall-mounted pot rack “best” in a small kitchen
In a big kitchen, a rack can be mostly decorative. In a small one, it must behave: stable, compact, and easy to use every day. Here’s what tends to matter most.
- Reach and clearance: you want a pan off the hook without banging a backsplash, coffee maker, or your own head.
- Real load capacity: marketing numbers assume perfect studs and perfect hardware, your wall may not cooperate.
- Hook spacing: tight spacing looks tidy, but can make lids and handles tangle.
- Finish and corrosion resistance: steam + cooking oils can wear cheaper coatings.
- Ease of cleaning: racks near the stove collect residue, simple shapes wipe faster.
According to UL Solutions, following manufacturer instructions and using proper fasteners for the mounting surface is a core part of safe installation for wall-mounted hardware. That’s a fancy way of saying, the “best” rack is the one you can mount correctly where you actually need it.
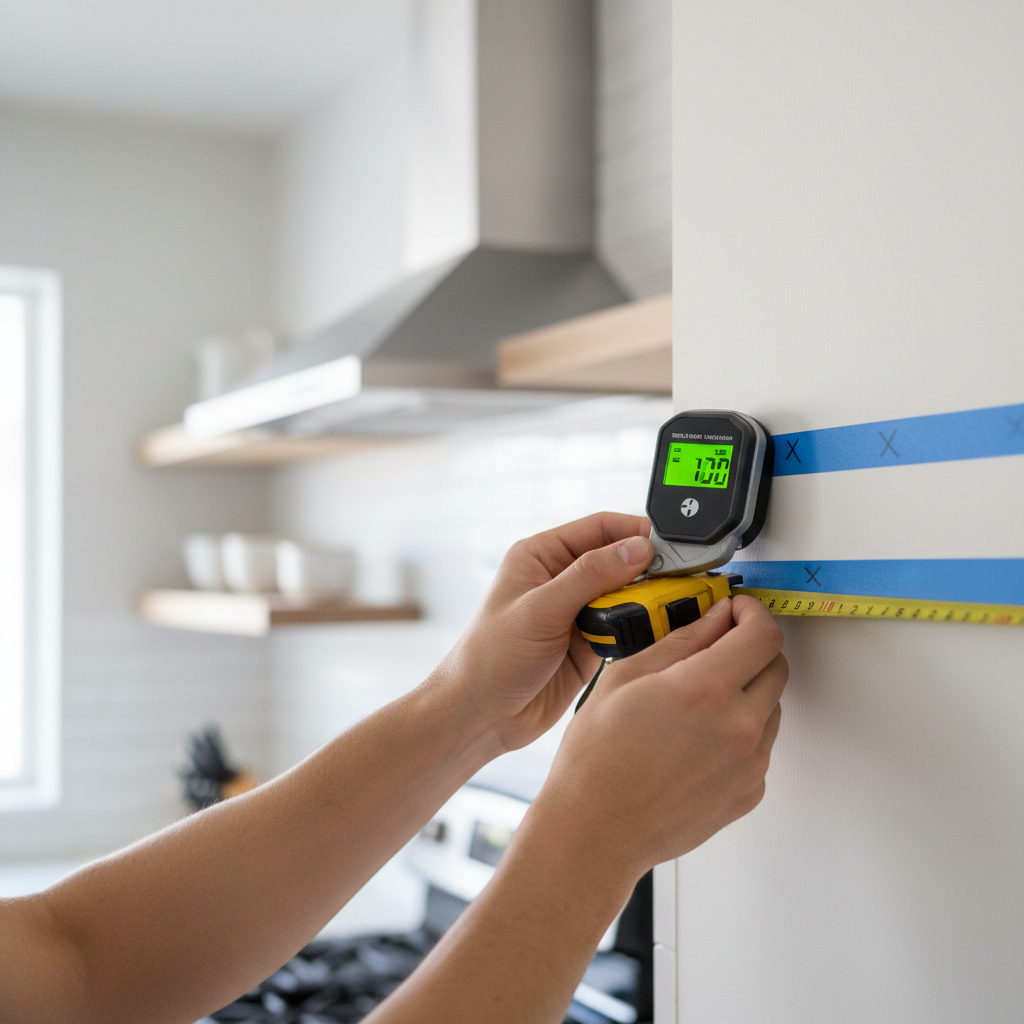
Quick fit check: measure these 5 things before you buy
A lot of returns happen because the rack is fine, but the kitchen is not. Do these quick measurements and you’ll narrow options fast.
- Usable wall width: measure the clear span between cabinets, windows, or trim.
- Vertical clearance: from countertop to the lowest cabinet edge, or to your planned hook height.
- Stud positions: mark stud centers; many racks have fixed mounting holes.
- Largest pan diameter: your widest skillet determines how much “swing room” you need.
- Handle depth: long handles can push pans outward and make a narrow aisle feel tighter.
Rule of thumb: if the rack will sit above a counter, many people feel comfortable when the lowest hanging pot sits roughly at or above upper-chest level, but your height and workflow matter, test with painter’s tape first.
The main wall-mounted pot rack types (and who they suit)
Most “best wall mounted pot racks for small kitchens” lists mix styles without explaining tradeoffs. Here’s the practical breakdown.
1) Wall rail with S-hooks
This is the most flexible option in tight spaces. A slim bar mounts to the wall and you slide hooks around as needed.
- Best for: renters (with permission), people who change setups, narrow walls.
- Watch out for: lighter rails can flex if you cluster heavy pans in the center.
2) Wall grid or peg-style panel
A grid gives more “parking spots” and can hold lids, utensils, even small shelves, it’s a storage system not just a rack.
- Best for: mixed storage, lids that don’t stack well, frequent cooking.
- Watch out for: visual busyness, and cleaning around many attachment points.
3) Shelf + hanging bar combo
You get a top shelf for oils or cookbooks plus a lower rod for pans. In small kitchens, this can replace a tiny “landing zone.”
- Best for: creating a mini prep station, adding storage over a cart or coffee setup.
- Watch out for: depth, if it sticks out too far it can feel like a head hazard.
4) Single-stud swing arm or vertical rack
These use a small footprint and can work beside the stove. They’re niche, but sometimes perfect.
- Best for: ultra-tight walls, one “hero pan,” or a small set.
- Watch out for: torque, a heavy cast-iron pan can stress a weak anchor.
A practical comparison table (so you can choose faster)
Use this table as a sanity check. It won’t pick for you, but it will stop the most common mismatches.
| Rack type | Space efficiency | Best cookware | Install difficulty | Common mistake |
|---|---|---|---|---|
| Wall rail + S-hooks | High | Daily-use pans, small pots | Low–Medium | Overloading the center |
| Wall grid/peg panel | Medium–High | Pans + lids + utensils | Medium | Buying too large for the wall |
| Shelf + hanging bar | Medium | Light–medium pans, kitchen basics | Medium | Installing too low over counters |
| Swing arm/vertical rack | Very high (tiny footprint) | 1–3 items, “grab-and-go” | Medium–High | Anchoring into drywall only |
How to pick the right rack for your cookware (not an idealized set)
People often shop racks like they’re buying decor, then realize their cookware set has different weights, handle shapes, and hanging holes. Match the rack to what you actually own.
- Mostly stainless steel and nonstick: rails and shelf combos are usually plenty, and quieter to use.
- Cast iron or enameled Dutch ovens: prioritize racks with stud-aligned mounting holes and thicker gauge metal, or consider storing the heaviest pieces low and hanging only mid-weight items.
- Lots of lids: a grid/peg panel often beats hooks, because lids don’t love hanging by a single point.
- No hanging holes: you may need strong S-hooks that cradle handles, but check that the handle won’t slip when bumped.
Small-kitchen reality check: the “best wall mounted pot racks for small kitchens” setup is often a hybrid, hang 4–6 everyday pieces, store bulky or rarely used items elsewhere.
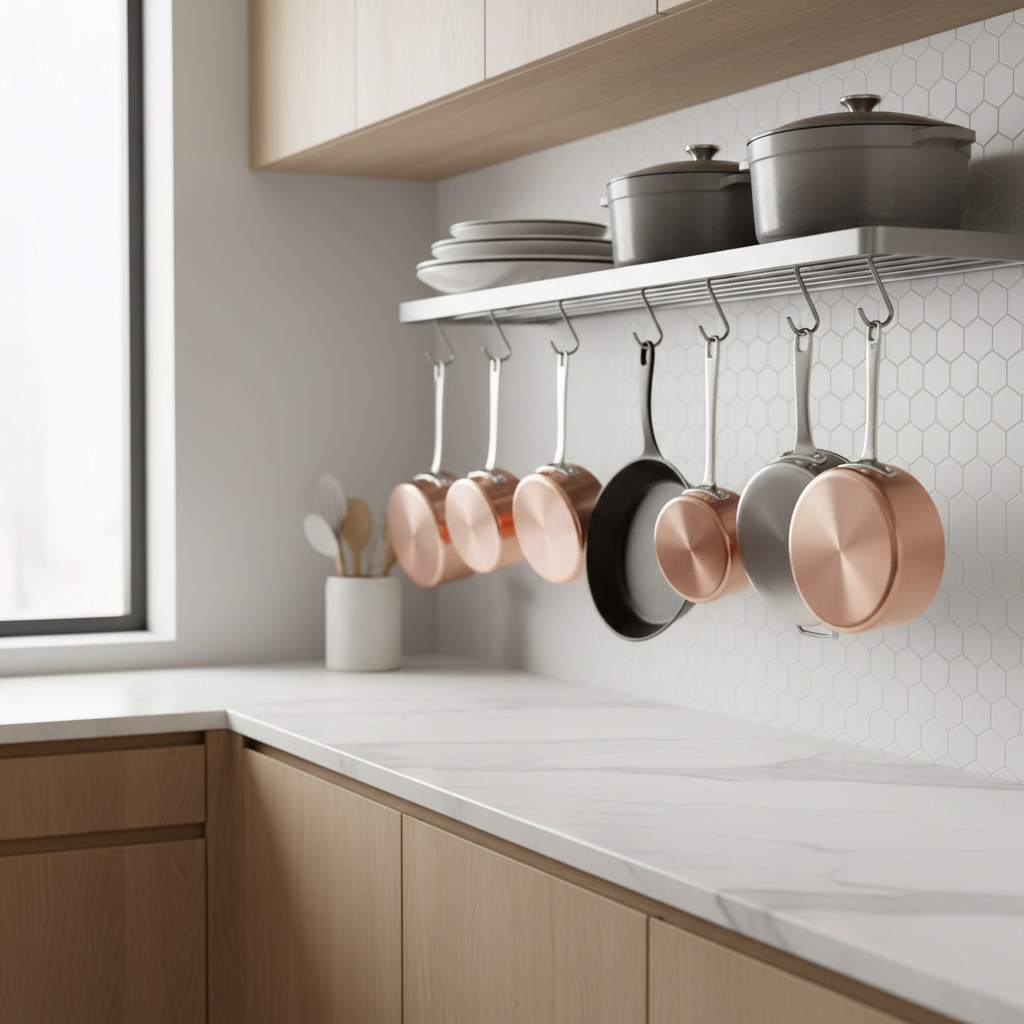
Installation steps that avoid wobble, drywall damage, and regret
This part is where many “easy installs” go sideways. If you’re not confident with tools, asking a handyman is often cheaper than repairing torn drywall.
Step-by-step (most common stud-and-screw scenario)
- Dry fit the rack: tape the outline on the wall, open cabinet doors, and simulate grabbing a pan.
- Find studs: use a stud finder, then confirm by measuring standard stud spacing, older homes can be odd.
- Level and mark: mark holes while holding the rack level, a second person helps.
- Pre-drill: drill pilot holes sized for your screws to reduce splitting and wandering.
- Mount into studs: tighten snug, don’t crank until you deform brackets.
- Load test gradually: add cookware one piece at a time, watch for shifting.
If you can’t hit studs, you’ll need anchors rated for your wall type. According to The Home Depot, using the correct wall anchor for drywall, plaster, brick, or tile is essential to support weight safely. In many cases, hanging very heavy cookware on drywall-only anchors is risky, consider a different location or a rack that spans studs.
Mistakes that make small kitchens feel even smaller
Even a well-built rack can be annoying if it’s placed wrong. These are the common “why did I do this” moments.
- Mounting in a walkway: protruding pans turn into shoulder-check hazards, especially in galley kitchens.
- Putting it too close to the stove: grease buildup increases, and handles can get hot, depending on layout.
- Overfilling the rack: crowded hooks cause clanging, and you stop using it.
- Ignoring door swings: cabinet doors that hit a hanging pan will win the fight.
- Choosing “pretty” hooks: thin hooks can bend, wide hooks can scratch, match hook size to handle thickness.
Key takeaway: space-saving only counts if it also saves time and friction. If you dread grabbing a pan, the storage technically works but practically fails.
Conclusion: the best choice is the one you can mount well and use daily
The best wall mounted pot racks for small kitchens usually come down to three things: a size that fits your wall and your reach, mounting that matches studs or the right anchors, and a layout that holds your everyday cookware without turning into clutter.
Pick one rack type, do a quick tape mockup, and commit to hanging only what you use weekly. If you do that, the rack stops being “one more thing on the wall” and starts feeling like extra counter space.
Action step: measure your usable wall width and stud locations today, then choose between a rail (most flexible) and a shelf combo (most functional) based on how you cook.
FAQ
What are the best wall mounted pot racks for small kitchens if I rent?
In many rentals, a slim wall rail is the least invasive, because it can use fewer holes and stays low-profile. Still, check your lease and get approval if required, patching later is easier than a dispute.
How much weight can a wall-mounted pot rack hold?
It varies by rack design and how it’s mounted. Capacity is usually highest when screws hit studs; drywall-only installs depend heavily on anchor type and wall condition, and may not be appropriate for very heavy cookware.
Can I mount a pot rack on tile or brick?
Often yes, but it’s more tool-sensitive. You’ll typically need the right drill bit and anchors for masonry or tile, and you should go slow to avoid cracking. If you’re unsure, a professional installer can be worth it.
Is it safe to hang cast iron on a wall rack?
It can be safe if the rack is rated for the load and mounted properly into studs or a suitable substrate. If your wall setup forces drywall anchors only, consider storing cast iron in a lower cabinet or on a sturdy shelf instead.
Where should I place a pot rack in a tiny kitchen?
Many people have good results above a prep counter, on an unused wall near the stove (but not too close), or near the sink area for easy cleanup flow. Avoid tight walkways where pans will stick out into traffic.
How do I stop pans from clanging on hooks?
Give each piece more breathing room, use thicker hooks, and don’t hang pans so they touch. Some households also prefer silicone-coated hooks, but make sure the coating is heat-resistant if it’s near cooking zones.
What size pot rack is “enough” for a small kitchen?
Usually smaller than you think. A rack that holds 4–8 core pieces tends to feel organized; a rack sized for your whole cookware collection can look crowded fast and becomes harder to keep clean.
Do wall-mounted pot racks damage cookware?
They can, mostly through rubbing and scratching at contact points. Smoother hooks, enough spacing, and hanging by sturdy handle areas reduces wear, and rotating pieces helps if you notice scuffs.
If you’re deciding between two rack sizes or you’re unsure your wall can handle the weight, bring your measurements and cookware list to a local hardware store or consult a qualified installer, it’s often the quickest way to avoid buying the “right” rack for the wrong wall.