
How to organize plastic food containers usually comes down to one thing: stopping the “lid avalanche” and making it easy to grab a matching set without thinking. If your cabinet feels like a game of Jenga every time you pack leftovers, you’re not alone.
This matters more than it seems, because messy container storage quietly wastes time, encourages duplicates, and makes you keep stained or warped pieces you don’t even like using. A few small changes can cut the daily friction, and your kitchen starts feeling calmer fast.
One quick promise up front: you don’t need fancy organizers. You need a rule set. This guide walks you through a realistic sorting method, the best storage layouts for common cabinet types, and a maintenance routine that holds up after a busy week.
Start with a fast reset: purge, match, and measure
Before buying bins, do a short reset. Most systems fail because they try to “organize clutter” instead of reducing it. Give yourself 20–30 minutes and a clear counter space.
1) Purge what should not go back
- Warped containers or lids that no longer seal well, they’ll keep wasting your time.
- Heavily stained pieces (tomato sauce is the usual culprit) if you avoid using them anyway.
- Singles you can’t match within a reasonable search, unless you truly use them as “odds and ends.”
- Cracked edges or lids with broken tabs, they often fail at the worst moment, like in a lunch bag.
Safety note: if you have concerns about plastic wear, microwaving, or container condition, it’s smart to check manufacturer guidance. According to the U.S. Food and Drug Administration (FDA), food contact materials are regulated and intended to be safe for their approved uses, but using products as directed still matters.
2) Match lids to bases, then count what you really have
Put all bases in one pile and all lids in another, then pair them. This is where you learn the truth: you probably have 3–6 “real” sets you reach for, plus a bunch of extras you tolerate.
3) Measure the storage space you’re committing to
Pick one shelf or one drawer and treat it as “the container zone.” Measure width, depth, and height so you choose a layout that fits your cabinet, not an idealized Pinterest version.
Choose a container strategy: uniform sets vs mixed reality
There are two workable approaches, and the right answer depends on your household. People get stuck because they try to force a uniform set on a kitchen that runs on takeout nights and school lunches.
Option A: Consolidate to 1–2 brands or styles
- Faster matching, fewer lid types.
- Stacks more cleanly, less wasted vertical space.
- Works well if you meal prep or pack lunches daily.
If you’re willing to replace over time, this is the most “set it and forget it” path for how to organize plastic food containers.
Option B: Keep mixed containers, but standardize the storage rules
- Cheaper, realistic for families that accumulate containers.
- Requires stricter zones: size categories and lid control.
- Works best when you limit how many “odd” pieces you keep.
The lid problem: the simplest fix is vertical storage
Lids create chaos because they’re light, slide easily, and don’t stack reliably. The practical solution is to store them upright like files so you can flip to the right one.
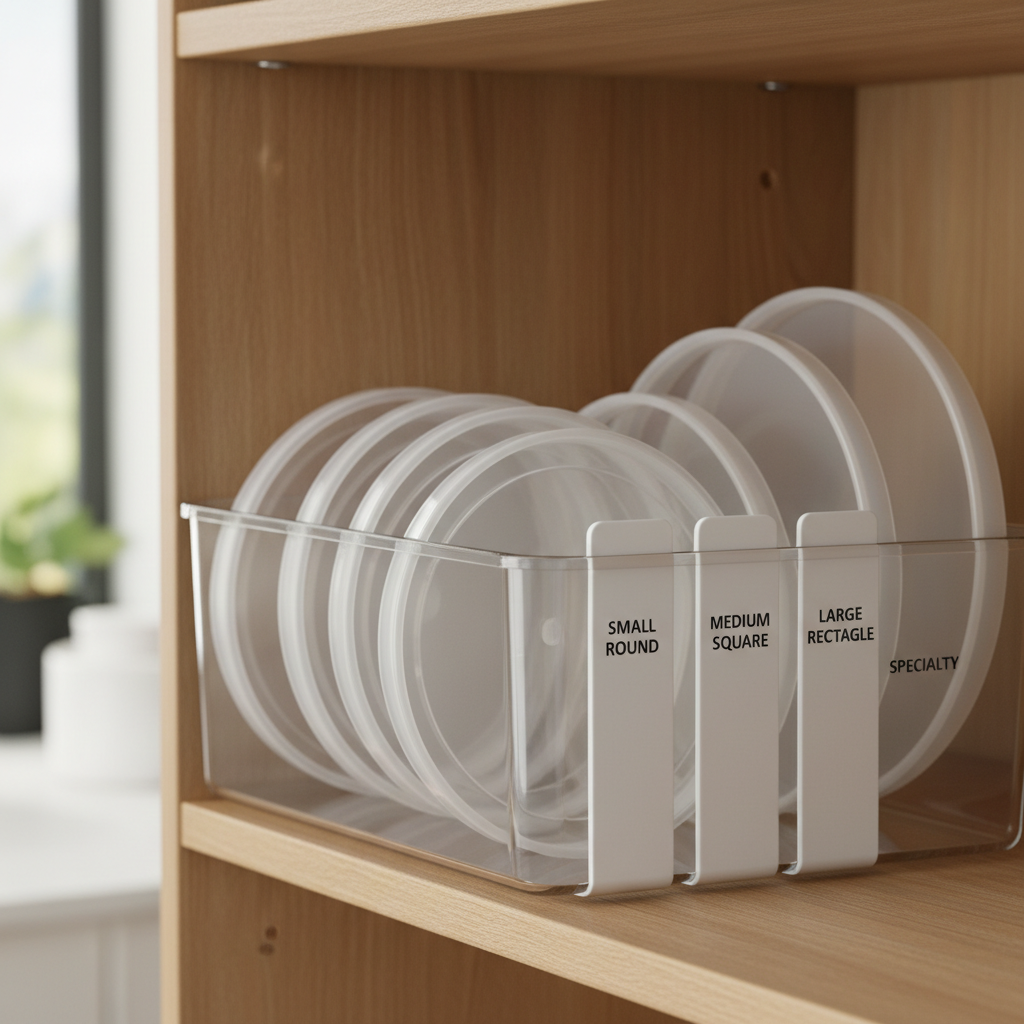
Good lid organizers are often things you already own: a narrow bin, a magazine file, a baking pan rack, or a simple divider. What matters is that lids stand up and stay separated.
- One bin per lid family (round, rectangular, snap-top, etc.).
- Sort by size left to right, small to large, so your hand learns the pattern.
- Cap the quantity, if the bin overfills, that’s your signal to purge.
Best layouts for real kitchens (cabinet, drawer, pantry)
This is where most “organizing tips” get vague. Layout should follow how you grab containers: bases first, lid second, close and go.
Cabinet shelf setup (most common)
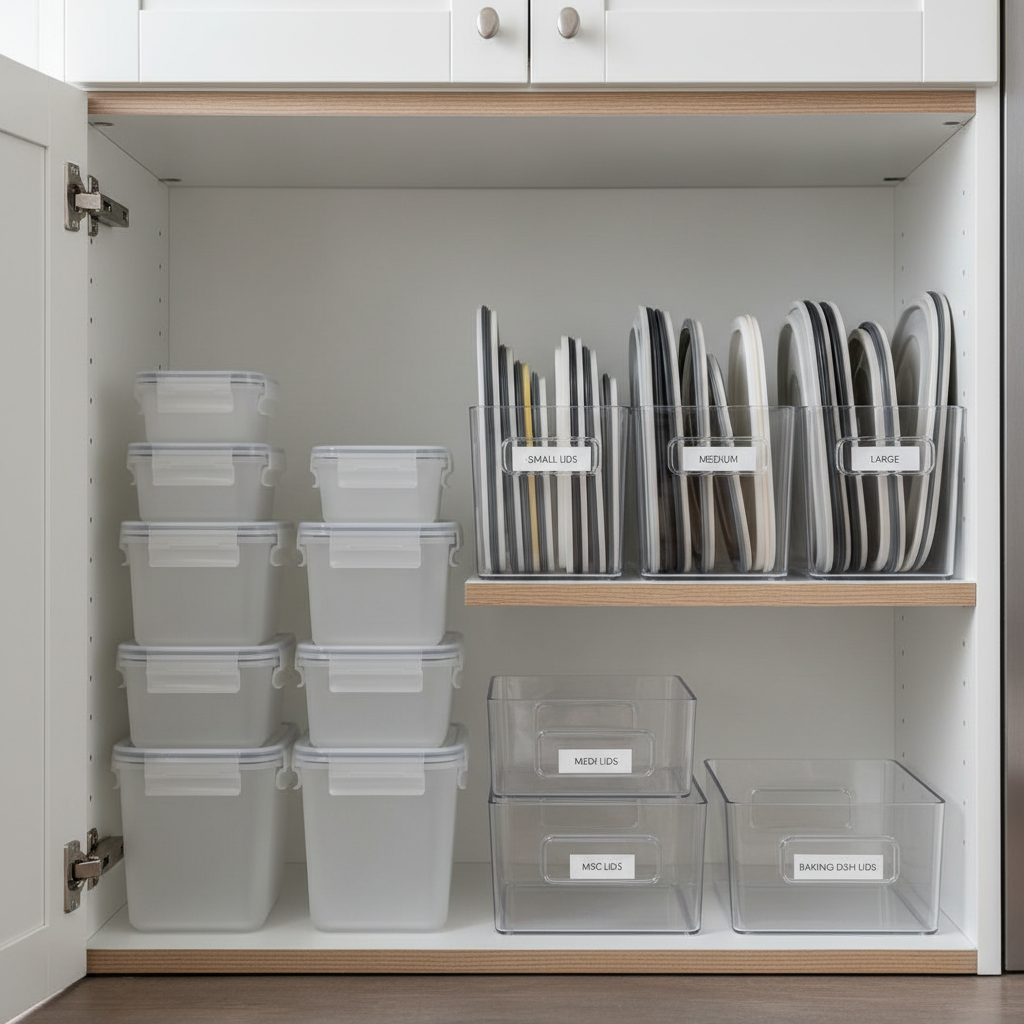
- Bases nested by size in 2–3 stacks, with the most-used size in front.
- Lids vertical in one bin on the same shelf, ideally to the right of bases if you’re right-handed.
- Keep one open landing spot (a small tray area) for “just washed” pieces so you don’t jam wet containers back in.
Deep drawer setup (often easiest)
- Place bases in short stacks so you can see into the drawer.
- Use a long narrow bin to run lids front-to-back, still vertical.
- If the drawer is wide, create two lanes: everyday containers and backup/party extras.
Pantry shelf setup (if you store near wraps)
- Put containers near foil, wrap, and bags so packing is one-stop.
- Use labeled bins for “Lunch,” “Leftovers,” “Freezer,” if your family needs clear cues.
Quick self-check: what’s causing your container mess?
If you want how to organize plastic food containers to actually stick, diagnose the issue. Most people fall into one of these patterns.
- Too many types: every container has a different lid, matching becomes a chore.
- No lid control: lids stacked flat, then slide into a pile.
- Storage zone too small: you’re trying to store 30 pieces in space for 15.
- No return routine: containers come out daily but go back randomly.
- “Just in case” keeping: you keep takeout containers you don’t enjoy using.
A simple system you can follow: Sort, zone, label, maintain
This is the repeatable workflow. It’s not fancy, it just respects how people behave on a Tuesday night.
Step 1: Sort into 3 practical size groups
- Small: snacks, sauces, cut fruit.
- Medium: lunch portions, leftovers for 1 person.
- Large: meal prep, family leftovers.
Round vs rectangular can be separate if you have enough of both, but don’t create categories you can’t maintain.
Step 2: Create zones that match your habits
- Everyday zone at the front, 80% of use.
- Occasional zone higher shelf or back, party trays and bulk sizes.
- Kid/lunch zone if mornings are hectic, keep it low and reachable.
Step 3: Label only if it reduces decision fatigue
Labels help in shared households, but they’re optional if you live alone and know the system. If you label, keep it blunt: “Small Bases,” “Medium Lids,” not cute names you’ll ignore.
Step 4: Add a 60-second maintenance rule
The only “maintenance” that works is the kind you do without thinking. Try this: every time you unload the dishwasher, you match lids immediately and file them upright. If there’s no room, something leaves.
Common mistakes that waste time (and how to avoid them)
A lot of well-meaning organizers create more steps than the mess ever did. Watch for these traps.
- Buying organizers before purging, you just build a prettier pile.
- Storing lids on containers for everything, it kills capacity and encourages chaos.
- Over-stacking bases, tall stacks topple and make you avoid putting things away.
- Too many micro-categories, if it takes thought, people stop doing it.
- Keeping “backup” lids that fit nothing, they become clutter magnets.
What to keep: a practical container “caps” table
If your cabinet explodes every week, quantity is usually the real issue. Here’s a reasonable starting point; adjust based on cooking frequency and household size.
| Household | Suggested active sets | Notes |
|---|---|---|
| 1 person | 8–12 containers | Focus on medium sizes, fewer lid types keeps matching easy. |
| 2 adults | 12–18 containers | Mix of medium and large for leftovers, smalls for snacks. |
| Family with kids | 18–30 containers | More smalls for lunches, consider a separate “kid zone.” |
| Frequent meal prep | 20–40 containers | Uniform sets help most here, otherwise lids multiply fast. |
Key takeaways you can use today
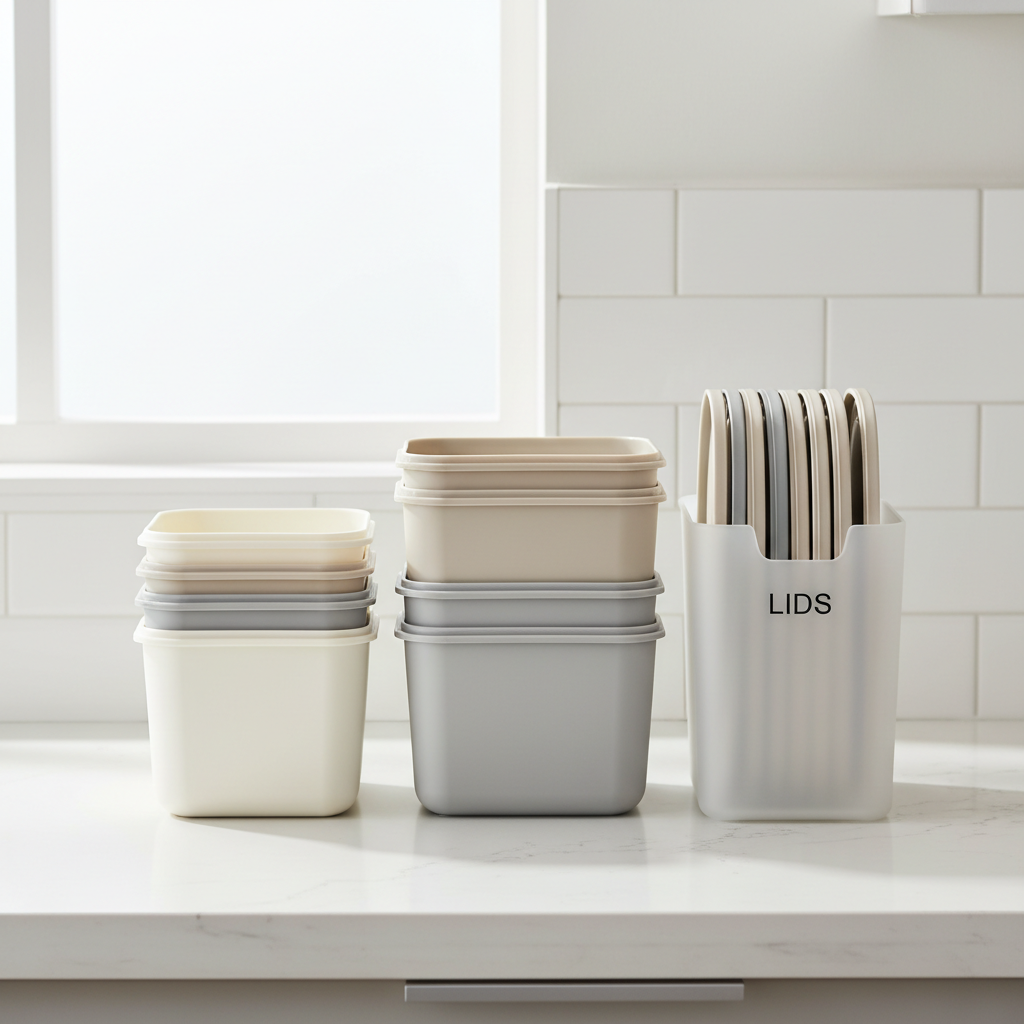
- Store lids vertically so you can flip and match fast.
- Limit lid types more than you limit container count, it’s the real friction.
- Keep everyday pieces in front and stop forcing everything into one stack.
- Maintain with one tiny habit: match and file lids while unloading.
Conclusion: make matching effortless, and the mess stops coming back
If you’ve been frustrated trying to figure out how to organize plastic food containers, aim for a system that reduces decisions: fewer types, clear zones, and upright lids. That’s the difference between a cabinet that looks good once and a cabinet that stays usable.
Your next move can be simple: do a 20-minute purge, then set up one lid bin and two or three base stacks. Live with it for a week, then adjust sizes and zones based on what you actually reach for.
FAQ
How do I organize plastic food containers with missing lids?
Start by matching everything once, then keep a small “single” bin for one week. If the lid or base never shows up, it’s usually safe to let it go, unless you have a specific use for it (like craft storage).
Should I store plastic containers with lids on or off?
For most kitchens, storing them separately saves space and prevents unstable stacks. Keeping a few ready-to-go sets assembled can help for school lunches, but assembling everything often eats up the whole shelf.
What’s the best way to store lids so they don’t warp?
Vertical storage in a bin or rack is gentle and keeps pressure off edges. Also, avoid cramming lids into a too-tight slot, that constant bending can shorten their usable life.
How can I organize plastic food containers in a small apartment kitchen?
Pick one drawer or one shelf only, then cap quantity to fit that space. Small kitchens do better with a tight “active set” and fewer shapes, otherwise matching becomes a daily annoyance.
Is it okay to keep takeout containers for leftovers?
Many people do, but quality varies. If a container warps easily, stains badly, or doesn’t seal, it tends to create clutter. If you’re unsure about intended use (especially reheating), checking the container markings and manufacturer guidance is a sensible step.
How often should I declutter my container cabinet?
A quick check every couple of months is usually enough, or any time lids start overflowing. The “bin is full, something leaves” rule prevents slow buildup without a big organizing project.
What organizers are actually worth buying?
If you buy only one thing, make it a sturdy bin or rack that holds lids upright. Everything else is optional, and many kitchens do fine using bins you already have.
If you want a more effortless setup
If you’re organizing a busy family kitchen or you’re tired of redoing the same cabinet every month, a small “container kit” approach often helps: pick one consistent container line over time, add one dedicated lid file bin, and keep a clearly defined everyday zone so the system doesn’t depend on motivation.