
how to clean outdoor furniture on budget is mostly about doing the boring basics well: dry cleanup first, the right mild cleaner for each material, then a quick protect-and-store routine so you don’t have to scrub again next weekend.
If your patio set looks “permanently dirty,” it’s usually not permanent at all, it’s just a mix of pollen, sunscreen, bird droppings, hard-water spots, and mildew that got time to bond with the surface.
This guide keeps it practical, what to use, what to avoid, how to spot when you’re about to damage a finish, and where a cheap “hack” stops being worth it.
Start with a budget game plan (so you don’t buy random sprays)
You can clean most outdoor pieces with a small kit you may already own, and a plan that matches the material. The biggest budget killer is guessing, trying three products, then still needing a fourth.
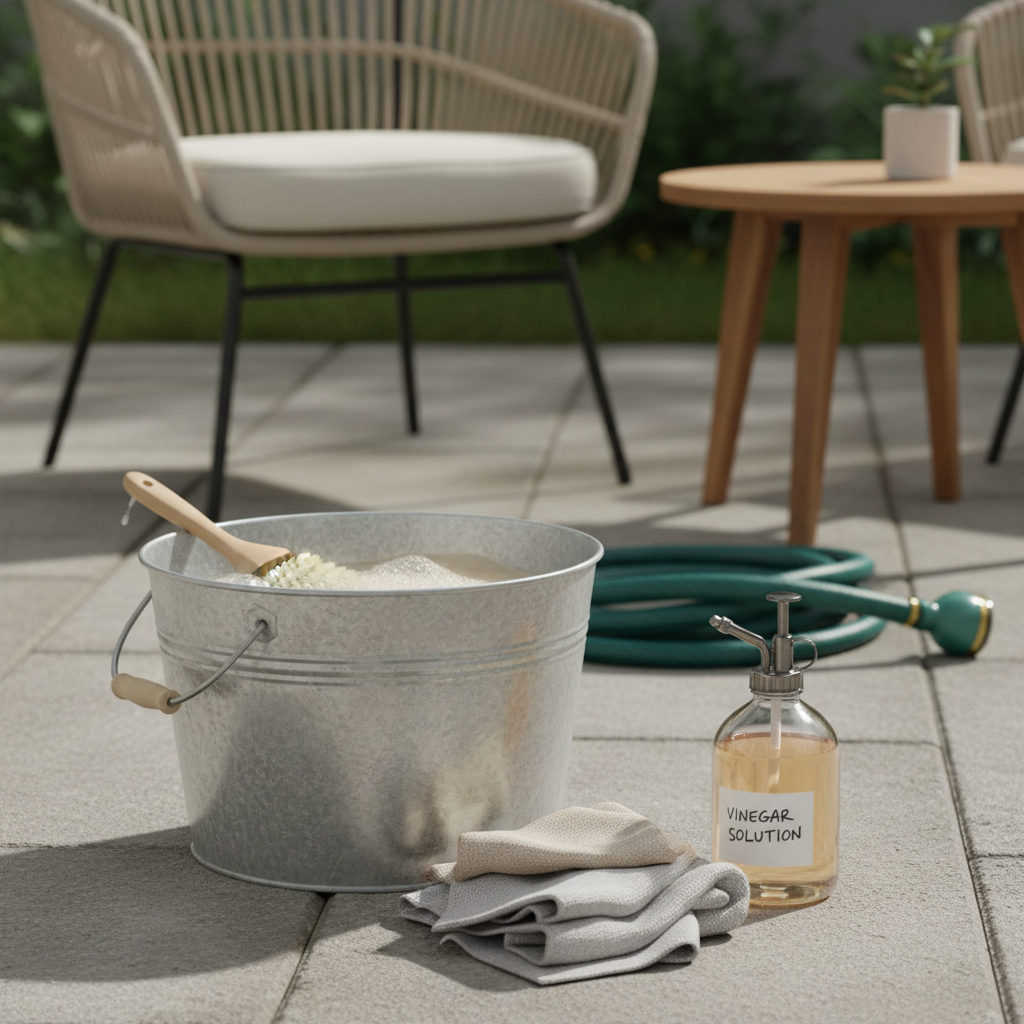
- Core kit: bucket, mild dish soap, microfiber cloths, soft nylon brush, old toothbrush, garden hose or pump sprayer.
- Nice-to-have: white vinegar, baking soda, hydrogen peroxide (3%), magic eraser-style sponge for plastics only, inexpensive spray bottle.
- Skip for now: harsh degreasers, bleach “for everything,” and strong acids unless the label specifically says it’s safe for your material.
According to the U.S. Environmental Protection Agency (EPA), you should always read product labels and follow dilution and safety instructions, especially when using disinfectants or mixing chemicals.
Know what you’re cleaning: quick material guide
Outdoor furniture fails in predictable ways, paint chalks, metal oxidizes, wood dries and lifts grain, fabric holds body oils and mildew. If you match the cleaner to the surface, you usually spend less and get a better result.
| Material | Budget-friendly cleaner | What to avoid | Quick tip |
|---|---|---|---|
| Plastic / resin | Dish soap + warm water | Abrasive powders on glossy parts | Use a soft brush to lift textured grime |
| Aluminum | Dish soap; vinegar-water for spots | Steel wool; strong alkaline cleaners | Rinse well to prevent streaking |
| Steel / wrought iron | Soap + water; touch-up paint for chips | Leaving rust wet; harsh acids | Dry fully, then wax for a light barrier |
| Teak / hardwood | Soap + soft brush | Pressure washing close range | Scrub with the grain, not across it |
| Wicker (synthetic) | Soap + soft brush | High pressure streams in tight weave | Use a toothbrush for crevices |
| Wicker (natural) | Light soap; minimal water | Soaking; bleach | Dry in shade, airflow matters |
| Cushions / outdoor fabric | Soap + water; peroxide for mildew | Over-saturating foam | Dry fast to prevent musty smell |
The 20-minute “most weekends” method (cheap, safe, effective)
For routine grime, you don’t need anything fancy. The order matters more than the product, and this is the part many people rush.
1) Dry clean first
- Brush off dust, leaves, pollen, and crumbs.
- Vacuum cushions and seams if you can, it helps soap work instead of turning dirt into mud.
2) Wash with mild soap
- Mix a few drops of dish soap in a bucket of warm water.
- Wipe or lightly scrub from top to bottom, then rinse.
- Don’t let soap dry on the surface, it causes film and streaks.
3) Dry and reset
- Towel dry metal to slow rust and water spots.
- Stand cushions on edge so water drains and air reaches both sides.
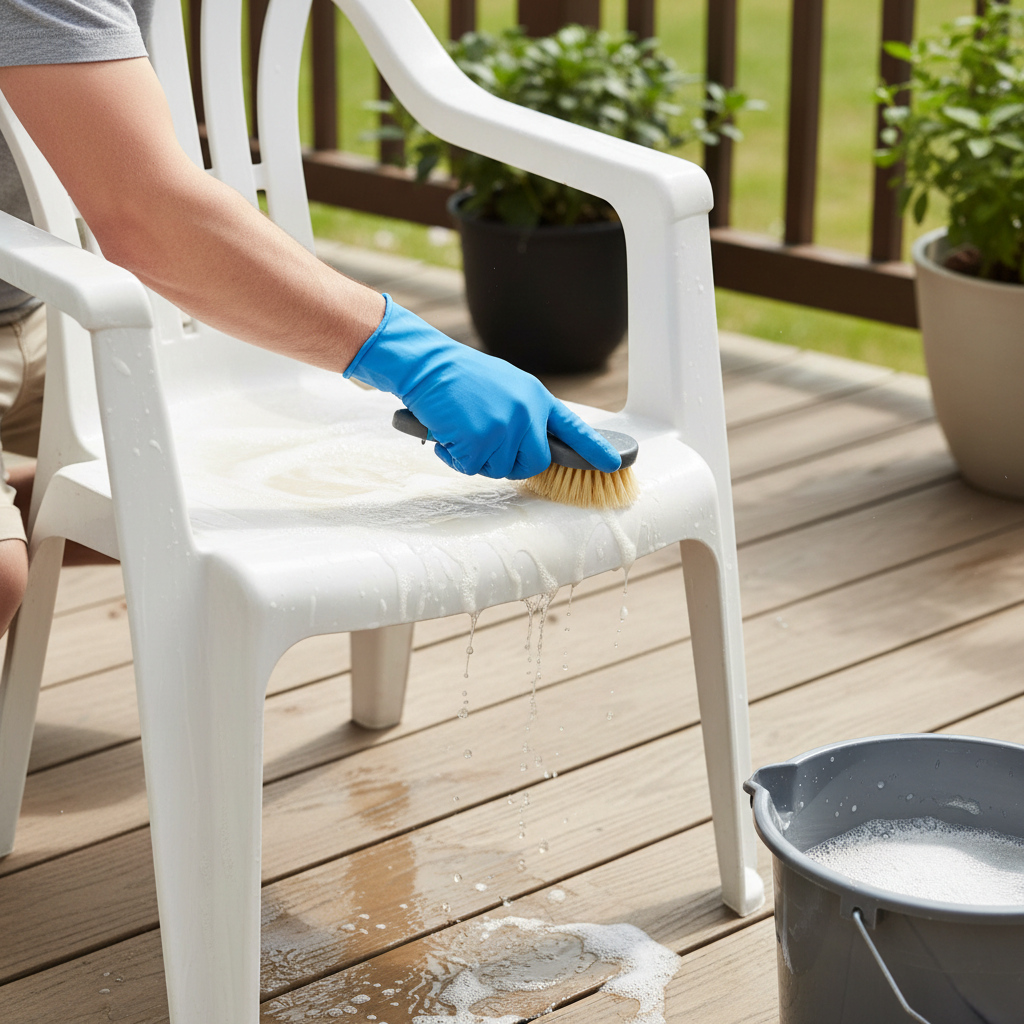
When people search how to clean outdoor furniture on budget, this exact routine is usually the “missing piece” because it’s consistent, low-cost, and doesn’t gamble with harsh chemicals.
Stains and problem spots: budget fixes that usually work
This is where DIY can save real money, as long as you keep expectations realistic. Some stains lighten instead of disappearing, and that can still be a win.
Mildew on cushions or fabric
- Brush off loose growth outdoors, avoid shaking it inside.
- Spot test a 3% hydrogen peroxide dab, then gently scrub with soap and water.
- Rinse thoroughly and dry fast in airflow.
If you have breathing sensitivities, mildew cleanup can be irritating, consider a mask and gloves, and if the smell persists deep in foam, replacement sometimes costs less than repeated “rescues.”
Bird droppings and tree sap
- Soften with warm soapy water and let it sit a few minutes, then lift gently.
- For sap on hard surfaces, rubbing alcohol can help, but spot test first and rinse.
Hard-water spots on metal or glass
- Spray a 1:1 vinegar-water mix, wait 2–3 minutes, wipe, then rinse.
- Dry immediately to prevent new spots.
Rust flecks on steel
- Light rust: nylon brush + soapy water, dry, then apply a thin wax layer.
- Paint chips: sand lightly, touch up with outdoor-rated paint to slow spreading.
Pressure washer: where it saves money, and where it quietly ruins things
A pressure washer can be budget-friendly when it replaces hours of scrubbing, but it’s also how people accidentally shred wood fibers, peel paint, and force water into wicker or seams.
- Usually OK: sturdy plastic/resin, some powder-coated metal, concrete tabletops, using a wide fan tip at a distance.
- Often risky: natural wicker, soft wood, older paint, cushion seams and zippers.
- Safer approach: start far away, lowest pressure, keep the wand moving, test a hidden area.
According to the Centers for Disease Control and Prevention (CDC), when using cleaning chemicals you should ensure good ventilation and never mix products like bleach and ammonia because dangerous gases can form. That same “don’t get creative with mixing” rule applies outdoors too.
A simple self-check: what kind of “dirty” are you dealing with?
Before you go buy anything, take two minutes and identify the main issue. The fix changes a lot.
- Dusty/pollen film: wipes off with soapy water, no strong odor.
- Greasy sunscreen/grill haze: feels slick, attracts dirt quickly, needs soap and a bit more agitation.
- Mildew: black/green dots, musty smell, returns fast if it stays damp.
- Oxidation/chalking: white powder rubs off painted metal or plastic, cleaning helps but finish may be aging.
- Staining: discoloration remains after washing, you may be in “lighten it” territory.
If your set still looks bad after a normal wash, it’s often oxidation, faded finish, or embedded stains, not “you didn’t scrub hard enough.”
Make it stay clean longer (this is the real budget win)
Cleaning is cheap, repeating the same deep clean every two weeks is not. A few small habits usually cut your workload.
- Quick rinse rhythm: a light hose rinse after heavy pollen days or storms prevents buildup.
- Dry matters: store cushions upright, don’t trap them in a damp deck box.
- Shade and covers: even a basic cover reduces UV fading and bird “incidents.”
- Furniture feet: keep metal legs off wet soil or grass where rust starts fast.
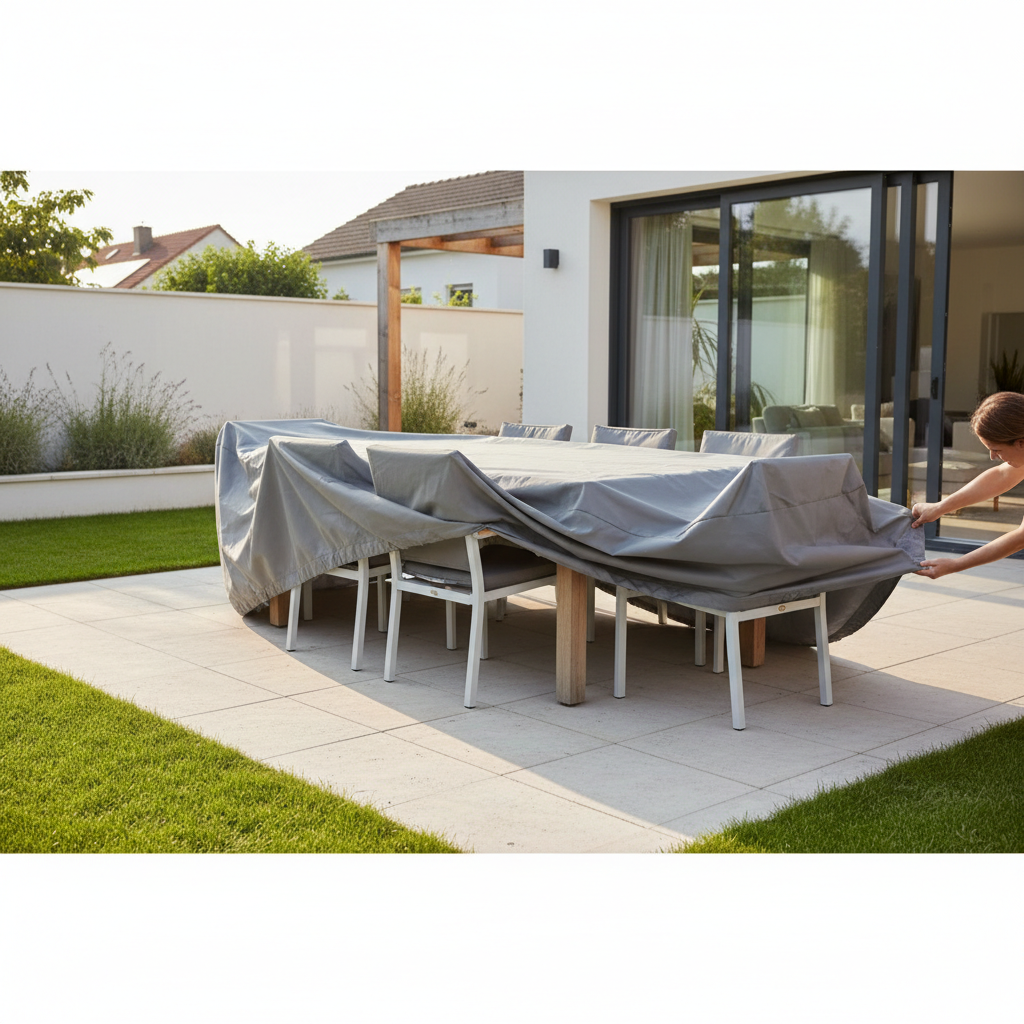
Key takeaway: When you’re learning how to clean outdoor furniture on budget, protection and drying habits usually save more than any miracle cleaner.
When DIY stops being “budget” and it’s time to call for help or replace
There’s a point where you can spend $25 in supplies and hours of effort to avoid a $60 replacement cushion, and that math stops making sense.
- Professional help may be worth it if cushions have widespread mildew deep in foam, or if you suspect hazardous mold and you have health concerns, a qualified professional can advise on safe remediation.
- Refinishing is reasonable when the frame is solid but paint fails, especially wrought iron and steel that can be sanded and repainted.
- Replacement is often cheaper if woven sections crack, natural wicker frays badly, or fabric tears across seams.
Practical conclusion: a cheap routine you can repeat without hating it
Most outdoor sets clean up well with soap, gentle tools, and the discipline to dry and store correctly, the “budget” part is avoiding impulse cleaners and stopping problems early. If you do one thing this week, do the dry-clean step first, then wash and rinse before sun bakes grime into the surface. If you do two things, add a cover or better cushion drying, that’s where weekends get easier.
If you’re trying to figure out how to clean outdoor furniture on budget and you’re stuck on a specific stain or material, take a quick photo, identify the surface, and build your plan around that, it’s usually the difference between a one-and-done cleanup and a frustrating cycle.
Key points to remember
- Soap and water solve most problems when you do dry cleanup first.
- Spot test vinegar, alcohol, or peroxide before committing to a whole piece.
- Avoid harsh mixing and follow labels for safety.
- Protection beats restoration for long-term savings.
FAQ
What is the cheapest way to clean patio furniture?
For most materials, warm water plus a small amount of dish soap and a soft brush is the cheapest reliable approach, then rinse and towel-dry metal parts to prevent spots and rust.
Can I use vinegar on outdoor furniture?
Vinegar-water works well on hard-water spots and some grime on metal and glass, but it can be too acidic for certain finishes, so a quick spot test in a hidden area helps avoid dulling.
Is bleach safe for outdoor cushions?
Sometimes diluted bleach is used for mildew, but it can discolor fabric and irritate skin or lungs, so it’s safer to start with soap and consider peroxide, and follow manufacturer care labels when available.
How do I remove mildew without buying a special cleaner?
Many people get decent results with soap, gentle scrubbing, and 3% hydrogen peroxide as a spot treatment, then fast drying in airflow, mildew often returns when cushions stay damp.
Will a pressure washer damage my furniture?
It can, especially on wood, older paint, and natural wicker, if you use it, stay on low pressure, keep distance, and test a small area so you don’t turn “cleaning” into repairs.
How often should I clean outdoor furniture?
Light cleaning every few weeks in peak season usually beats occasional deep cleans, quick rinses after storms or heavy pollen days help a lot and cost almost nothing.
Why does my plastic furniture look chalky after cleaning?
That chalky look is often oxidation from sun exposure, cleaning removes dirt but not always the aged layer, you can sometimes improve appearance with a plastic restorer, but results vary by product and condition.
If you want a more “set it and forget it” budget approach
If you’re trying to keep costs down and still want your patio to look decent, consider building a small cleaning tote and a 15-minute weekly reset, then add a basic cover and better cushion drying, that combo is usually cheaper than chasing stronger chemicals and replacing pieces early.