
How to clean vinyl floors safely usually comes down to two things most people overlook, using the right amount of moisture and avoiding cleaners that leave residue or slowly damage the wear layer.
Vinyl is tough, but it’s not “anything goes” tough, especially with luxury vinyl plank and tile. A few common habits, like steam mopping too hot, overusing soap, or scrubbing with the wrong pad, can turn into haze, slipperiness, or edges that start to lift.
This guide breaks the job into a realistic routine you can actually follow, plus a quick product check, a mess-by-mess playbook, and a troubleshooting section for the annoying stuff like sticky spots and cloudy film.
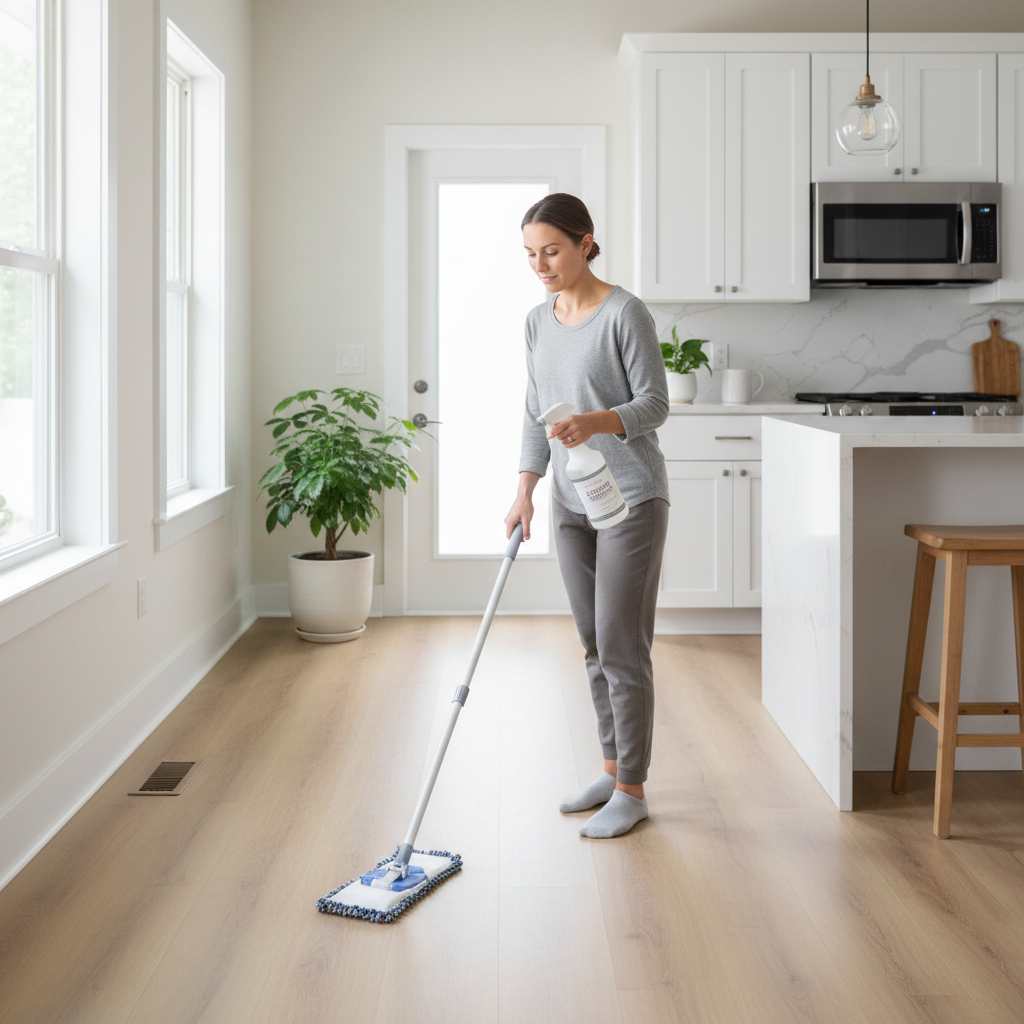
Know what you’re cleaning: vinyl isn’t all the same
Before you grab a bottle, it helps to identify what “vinyl” you have, because care guidance can differ by brand and installation. Many newer floors have a clear wear layer that protects the printed design, and harsh chemistry or abrasion can shorten that protection over time.
- Sheet vinyl: often sold in large rolls, fewer seams, easier to wipe but can be sensitive at edges and transitions.
- LVP/LVT (luxury vinyl plank/tile): click-lock or glue-down, seams matter, too much water can creep into joints in some installations.
- “No-wax” vinyl: common in homes, but still can haze if soap builds up or if a polish is applied accidentally.
When in doubt, check the manufacturer care sheet for your exact product. According to the Resilient Floor Covering Institute (RFCI), resilient flooring is generally best maintained with routine dust removal and damp mopping using recommended products, while avoiding overly aggressive cleaning methods.
What to avoid if you want to clean vinyl floors safely
Most floor problems aren’t from “not cleaning enough,” they come from one wrong tool used repeatedly. If you’re trying to keep things safe for the surface and for people walking on it, these are the usual culprits.
- Steam mops: heat and moisture can stress seams and adhesives in many cases, even if the floor looks fine at first.
- Abrasive scrub pads or powdered cleaners: they can microscratch the wear layer, making the floor grab dirt faster.
- Oil-based or wax polishes: many vinyl floors are not designed for wax, and buildup can turn into a slippery, dirty-looking film.
- Too much soap: dish soap and “all-purpose” mixes often leave residue, which looks like haze and attracts grime.
- Strong solvents (acetone, lacquer thinner) or heavy bleach use: can discolor, soften, or damage finishes. If disinfection is needed, follow label directions and consider asking the flooring maker what’s compatible.
If you’re dealing with mold, sewage, or an unknown chemical spill, that’s a different category of cleaning, and it may be smarter to consult a professional.
Your simple routine: dry first, then lightly damp
If you want a dependable baseline for how to clean vinyl floors safely, think “remove grit, then lift soil,” not “flood and scrub.” Grit is what causes tiny scratches, and excess water is what causes swelling risk around edges.
Step 1: Dry clean (daily or as needed)
- Use a soft broom, microfiber dust mop, or vacuum with hard-floor mode and no beater bar.
- Pay attention to entryways and under chairs, that’s where grit concentrates.
Step 2: Damp mop (weekly for most homes)
- Fill a bucket with warm water and a pH-neutral floor cleaner made for vinyl, or use a manufacturer-approved concentrate.
- Wring the mop until it’s damp, not dripping. You should not see puddles.
- Mop in sections, then rinse the mop frequently so you don’t spread gray water around.
Step 3: Quick dry
- Let the floor air dry, or use a clean dry microfiber pad for a fast buff, especially in humid rooms.
Key point: If your floor ever feels sticky after it dries, you probably used too much cleaner, not too little.
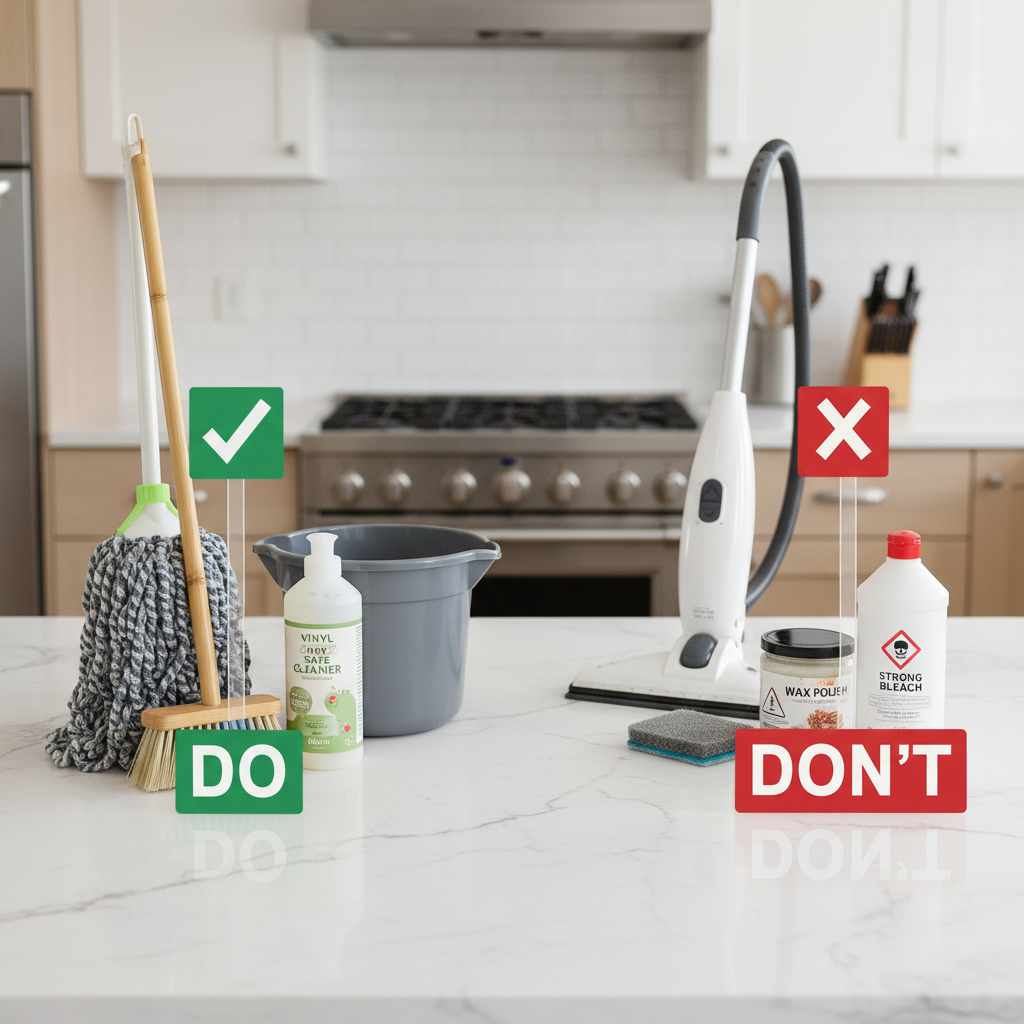
Cleaner choices: a quick table you can use in the aisle
Labels can be vague, and “multi-surface” doesn’t always mean “vinyl-safe.” Use this as a practical filter, then confirm with your floor’s care guide when possible.
| Product type | Usually OK? | Why it works or fails | How to use safely |
|---|---|---|---|
| pH-neutral vinyl floor cleaner | Yes | Designed to clean without stripping finish | Dilute as directed, damp mop, no puddles |
| Warm water (light soil) | Yes | No residue risk | Use microfiber, change water often |
| Dish soap solution | Sometimes | Can leave a film that dulls shine | Use tiny amount, rinse with clean water |
| Vinegar and water | It depends | Acid can be too harsh for some finishes over time | If used, keep very dilute and don’t use daily; check manufacturer guidance |
| Steam mop | No in many cases | Heat/moisture can stress seams and adhesives | Avoid unless manufacturer explicitly allows it |
| Wax or polish not made for vinyl | No | Buildup causes haze and slip risk | Skip; use only products approved for your floor type |
According to the U.S. Environmental Protection Agency (EPA), the safest approach with cleaning products is to follow label directions and ventilation guidance, and never mix products unless the label explicitly allows it, which matters if you’re tempted to combine bleach and other cleaners.
Spot-cleaning playbook: match the mess to the method
This is where people either overreact or underreact. For vinyl, gentle and targeted usually beats aggressive and broad.
- Food spills and everyday grime: wipe with warm water and a small amount of vinyl-safe cleaner, then a clean-water wipe to prevent residue.
- Sticky spots (soda, syrup): lay a warm damp microfiber cloth on the area for a minute, wipe, then rinse-wipe. If sticky remains, you may need a slightly stronger cleaner approved for vinyl.
- Scuff marks (shoes, chair legs): try a damp microfiber cloth first, then a non-abrasive melamine-style sponge very lightly in a small test area, because it can dull some finishes if overused.
- Grease (kitchen): use a vinyl-approved degreasing cleaner, then rinse-wipe so it doesn’t stay slick.
- Pet accidents: blot quickly, clean with a vinyl-safe cleaner. If disinfection is needed, choose a product labeled for floors and follow dwell time instructions, and consider checking with the floor manufacturer for compatibility.
Small habit that helps: rinse-wiping with plain water after spot cleaning often prevents that “why does it look worse now?” moment.
Self-check: why your vinyl still looks dirty after cleaning
If you mop and the floor still looks cloudy, streaky, or dull, you’re not alone. Most of the time it’s one of these issues.
- Residue buildup: too much cleaner, or a product that isn’t meant for vinyl.
- Dirty rinse water: you’re basically reapplying soil as a thin film.
- Hard water: minerals can leave faint streaks, especially in sunlight.
- Worn traffic lanes: not dirt, but abrasion, it shows as a slightly different sheen.
- Micro-scratches: often from grit at entryways or a vacuum beater bar.
Quick test: wipe a small section with a clean damp microfiber cloth and dry it immediately. If that patch looks better, you’re likely fighting residue rather than permanent wear.
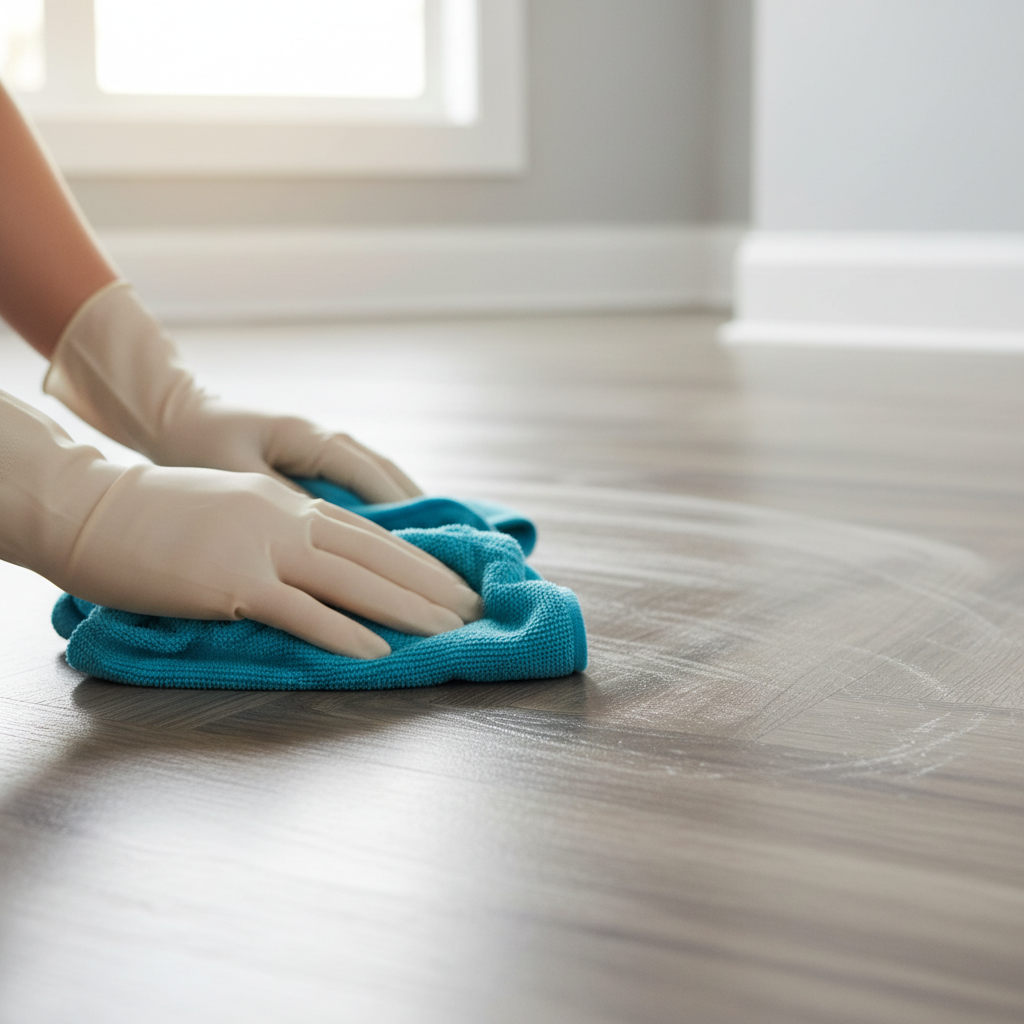
Fix common problems without making them worse
Here’s the part most guides skip, the “I already cleaned it and it’s still bad” scenario. Go slowly, test a small area, and avoid stacking strong products.
If the floor feels sticky
- Damp mop with plain warm water to remove leftover cleaner.
- Change water often, and dry-buff with a clean microfiber pad.
If there’s a cloudy film or streaks
- Use a manufacturer-approved cleaner at the right dilution, not extra strength.
- If you suspect hard water, try a final wipe using distilled water on a small test area.
If you used wax or the wrong polish
- Stop adding more product, that usually compounds the haze.
- Look for a vinyl floor finish remover only if the floor maker allows it, and follow directions carefully. If you’re unsure, a flooring pro can confirm the safest approach.
If edges look lifted or seams are gapping
- Avoid wet mopping until you know what’s going on.
- This can be moisture-related or installation-related, many cases need an installer or flooring specialist to evaluate.
Safety and prevention: make clean floors less slippery and easier to maintain
Safe cleaning is also about the people in the home. Slips often happen when residue meets socks, or when wet areas stay wet longer than expected.
- Use mats at exterior doors, grit is your floor’s biggest enemy.
- Add felt pads to furniture and replace them when they pick up sand.
- Clean up spills fast, especially oils and sugary drinks.
- Ventilate if you use any chemical cleaner, and store products away from kids and pets.
- Never mix cleaners. According to the Centers for Disease Control and Prevention (CDC), mixing certain household cleaners can create hazardous fumes; follow product labels and use one product at a time.
Key takeaways: dry remove grit, keep mopping moisture low, choose vinyl-compatible cleaners, and rinse-wipe when residue shows up.
Conclusion: a safe vinyl-cleaning routine you can stick with
How to clean vinyl floors safely isn’t about special tricks, it’s about consistency, low moisture, and products that don’t leave a film. Once you get the routine right, the floor usually stays cleaner longer, and you spend less time chasing streaks.
Try two actions this week, switch to a microfiber dust mop for daily grit, and measure your cleaner instead of free-pouring. If your floor still looks hazy after a couple cleans, do a small test area with plain water to confirm whether it’s residue or wear, then decide if you need a manufacturer-approved deep clean or professional help.